 Memory Notch
THE APP, IN DETAIL
Everything behind
the notch.
A recorder, a transcript, and a place to come back to. Here’s what Memory Notch actually does—and where its limits are.
Try the five-minute recording trial ↗01 / CAPTURE
Keep both sides of the conversation.
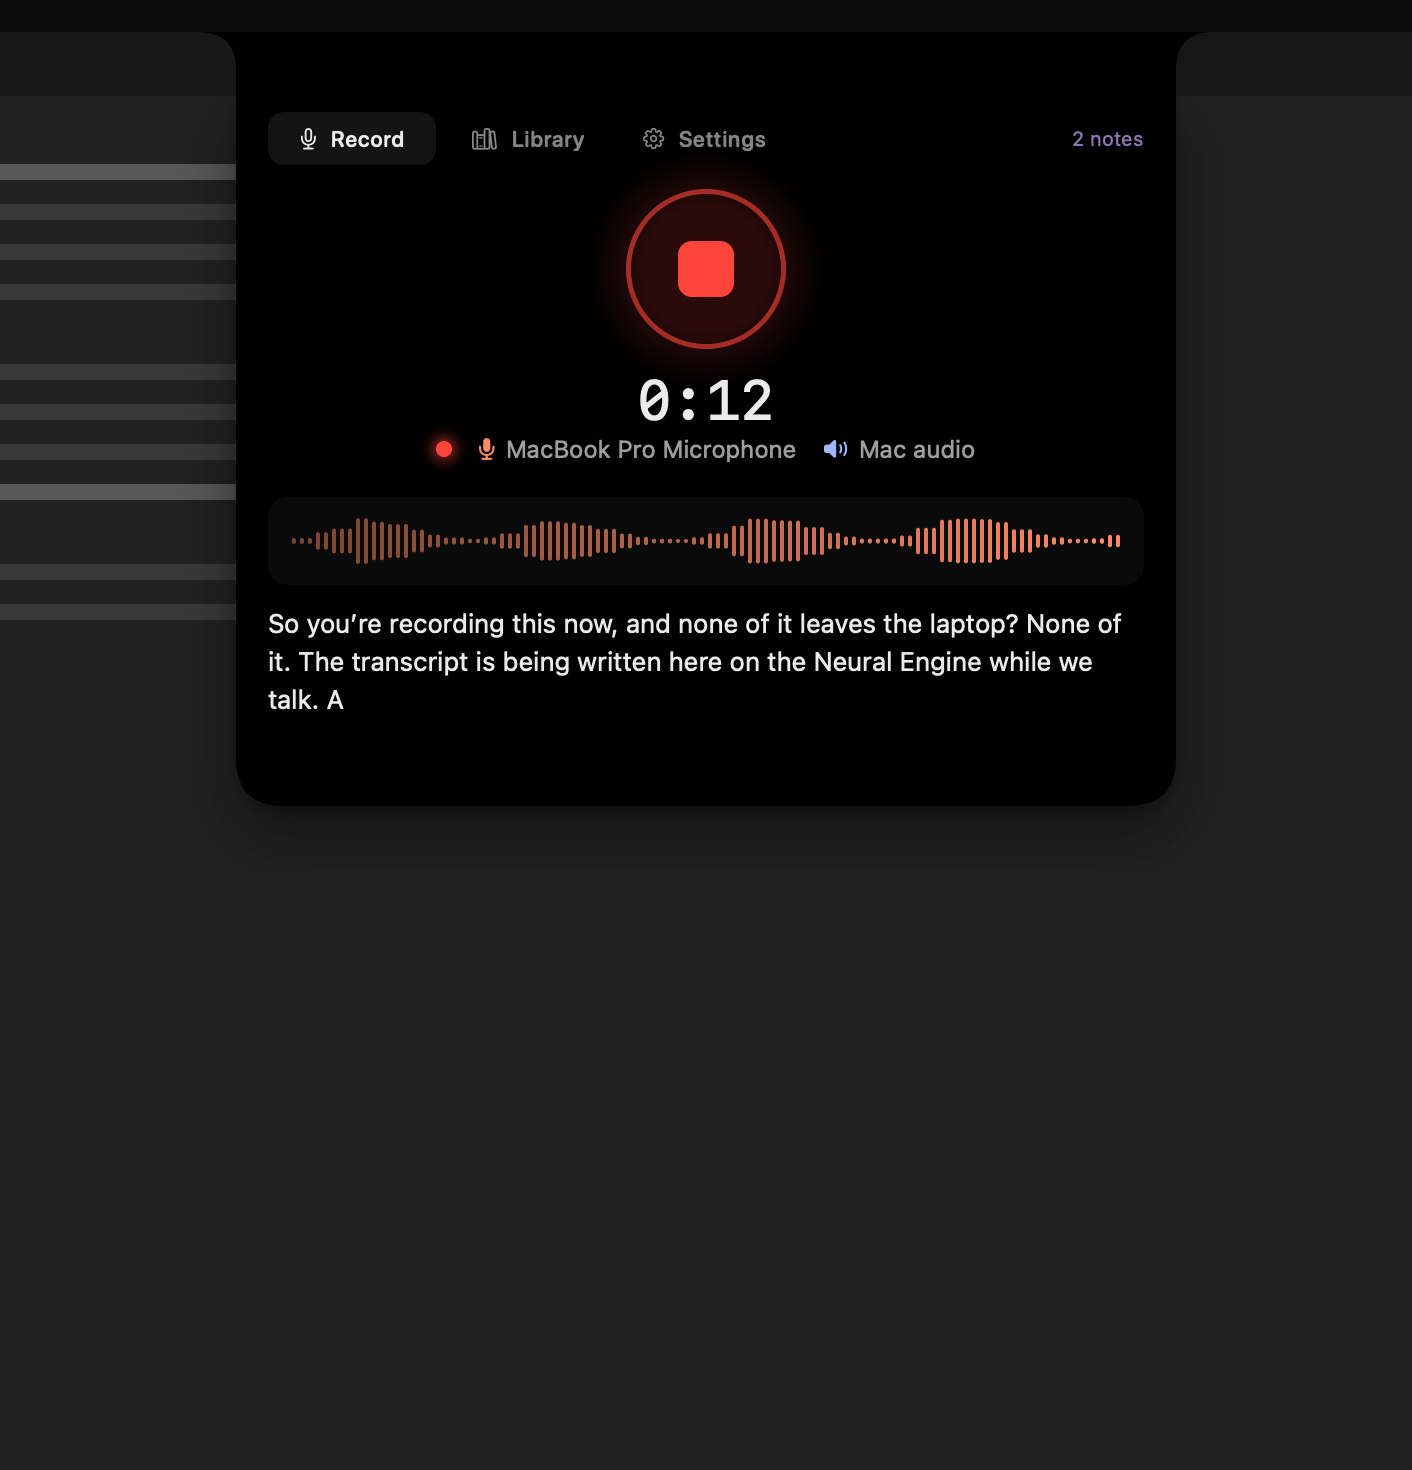
- Microphone and Mac audio
- Capture your voice and the audio playing on your Mac, including the other side of a call. Screen Recording permission is needed for system audio; without it, recordings are microphone-only.
- A transcript as you speak
- Follow the words while recording. Transcription runs on your Mac. Numbered speaker labels help distinguish voices, but they are not verified names and can be wrong.
- Optional screen recording
- Save the screen alongside the conversation when you enable Record screen. A video file stays with the note and can be opened in your video player.
- Choose your microphone
- Select the input in Settings. With AirPods, use the Mac’s built-in microphone to avoid headset call-mode limitations. Keep the display awake for system audio capture.
02 / OUT OF THE WAY
A little space at the top of your Mac.
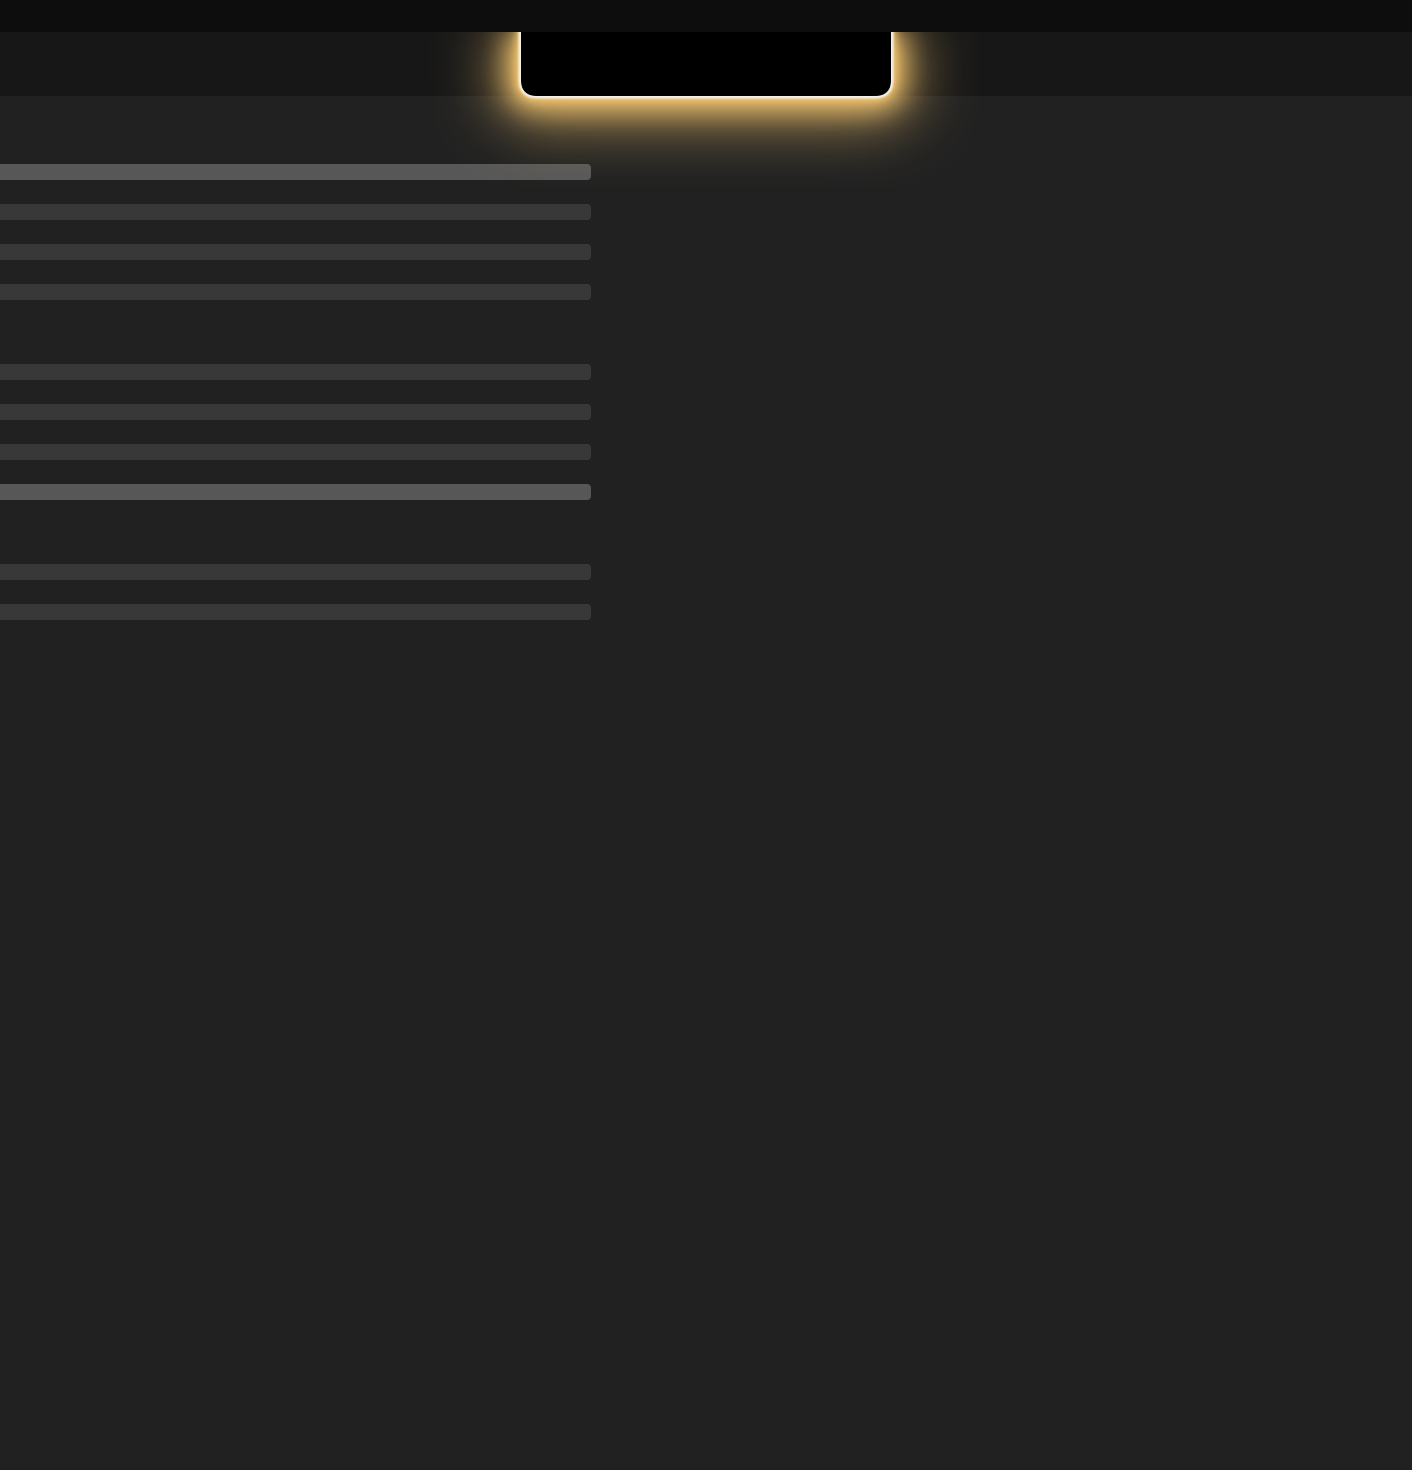
- Open, record, fold away
- Open the panel from the notch, start a recording, and close the panel while capture continues. A compact recording tab keeps the recording status in view.
- Optional recording glow
- Enable Glow while recording for a halo around the closed recording notch. The website keeps its closed demo glowing so you can find it; that is not the app’s default policy.
- No physical notch required
- On a display without a notch, the app appears as a capsule below the menu bar. Recording and your library work the same way.
03 / FIND YOUR WAY BACK
A library for the conversations you keep.
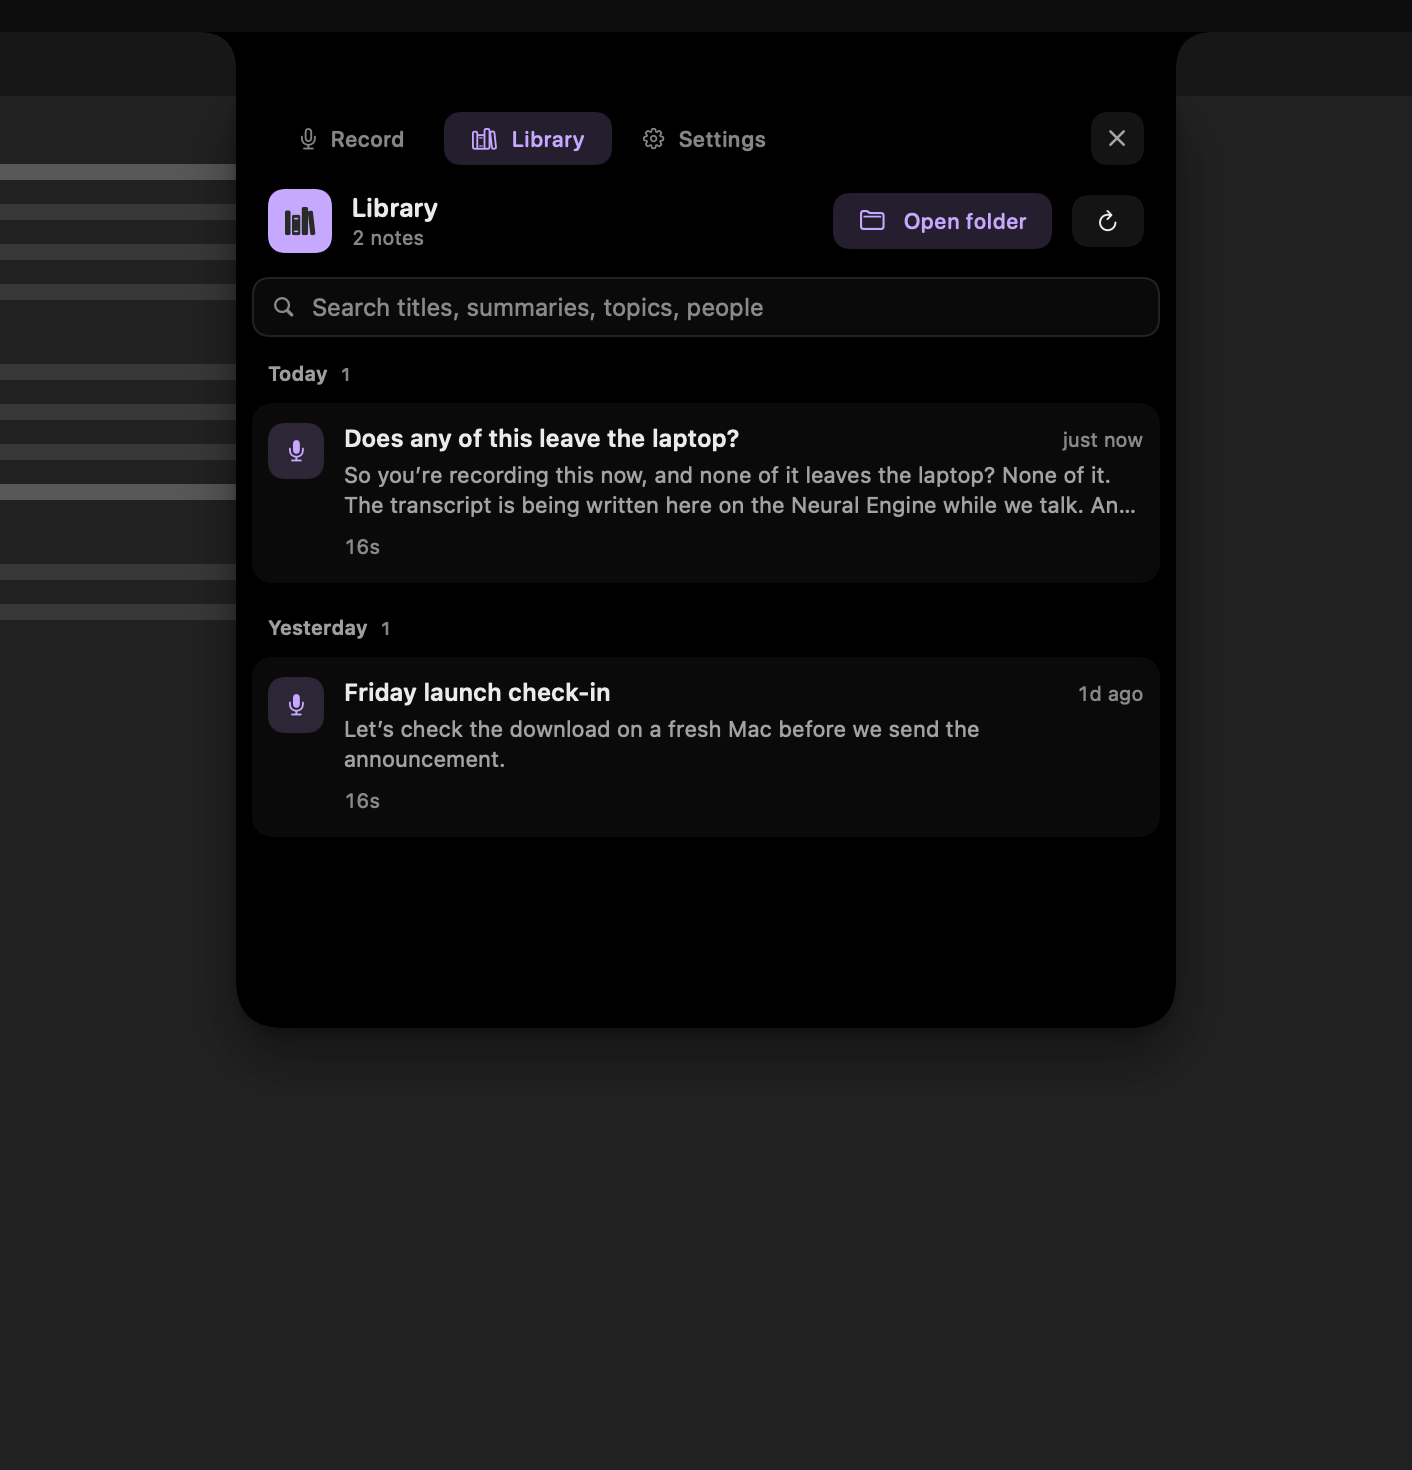
- Browse and search
- Browse recordings grouped by date. Search note titles and metadata, including topics and people when those fields exist. This is not full-transcript search.
- Make notes recognizable
- Open a recording and click its title to rename it. Existing metadata can help identify a note; Memory Notch does not automatically generate summaries or action items.
- Manage the actual files
- Refresh the library, open its folder, reveal a note in Finder, copy a note ID, or open an attached video. Delete a recording through an explicit confirmation—this removes its owned files, not just a row in the interface.
04 / RETURN TO THE WORDS
Read it. Hear it. Take it with you.
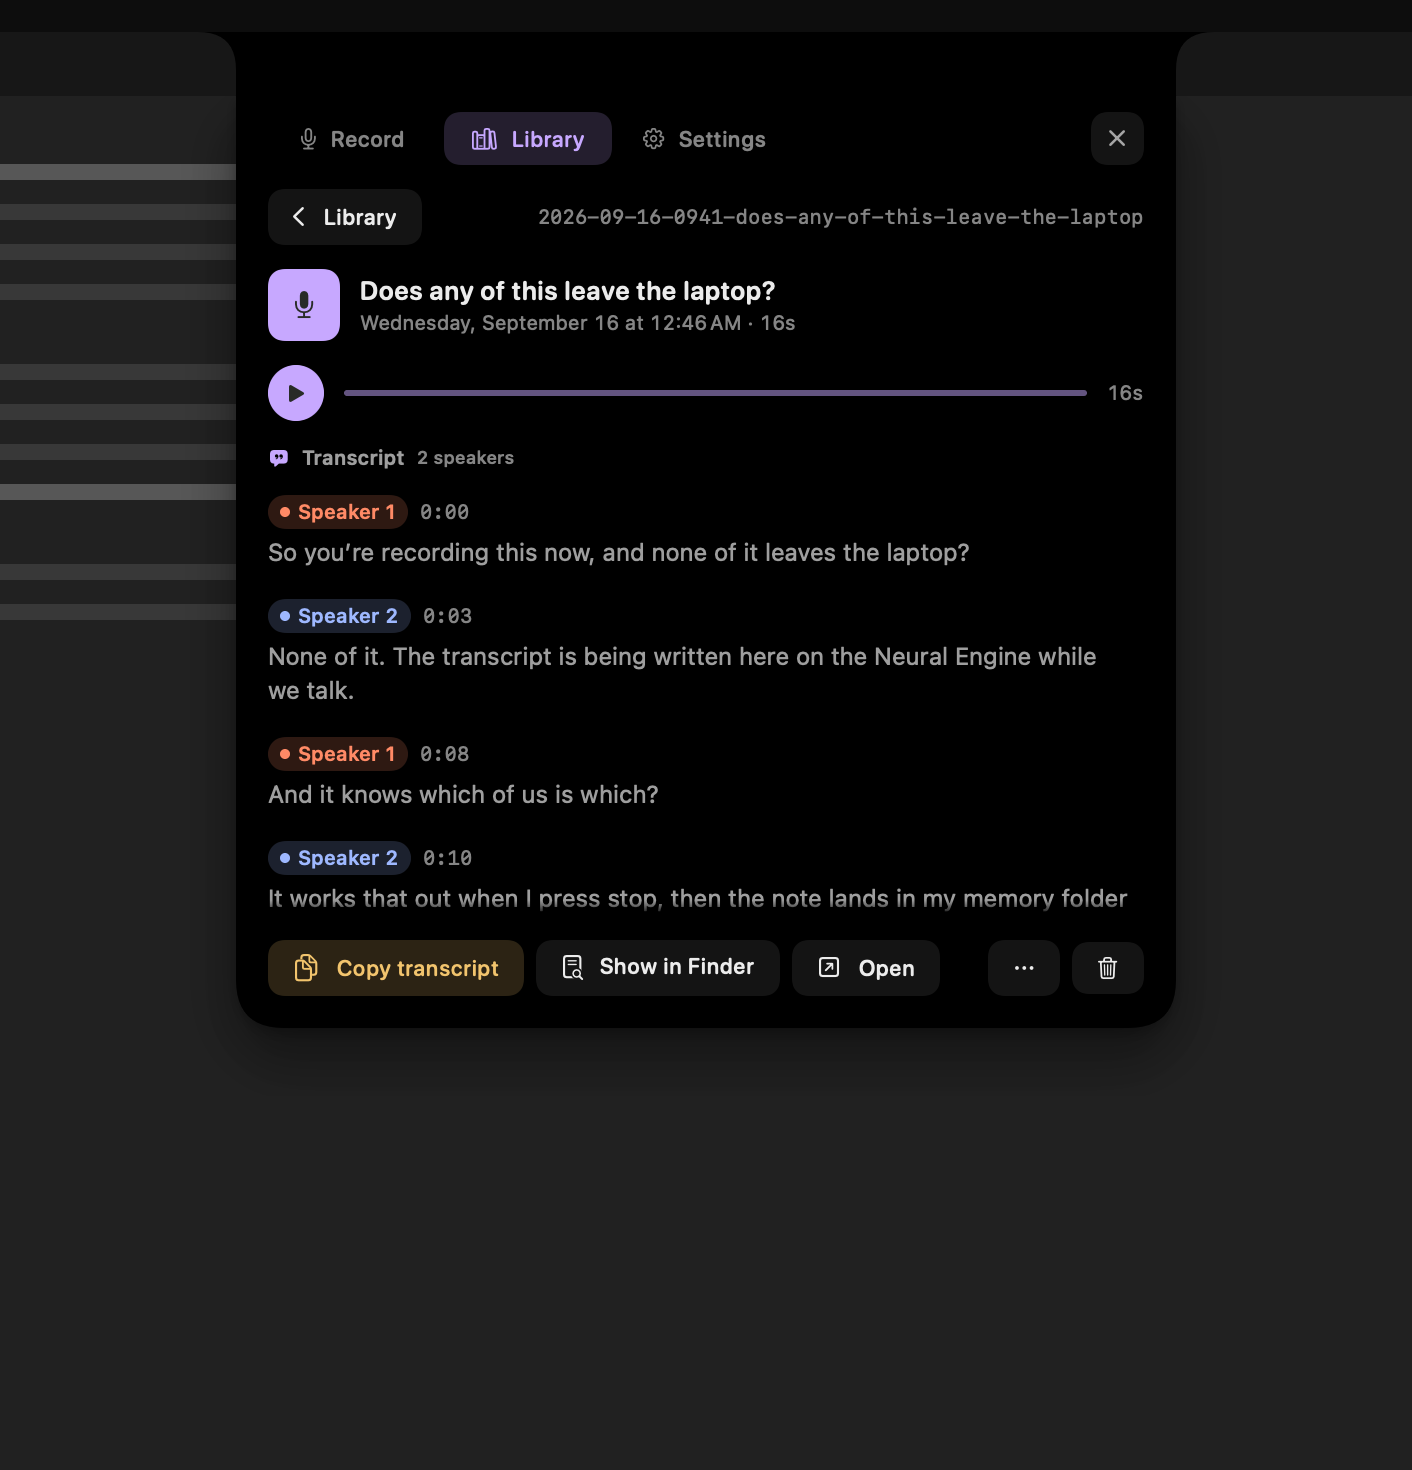
- Play and seek
- Play the original audio, scrub to a position, or use a transcript timecode to return to a moment. A screen recording can be opened separately in QuickTime.
- Copy the transcript
- Copy plain text, or use More actions to copy with timecodes. Open the Markdown note in your own editor or reveal the recording’s folder.
- Run an enhanced transcript
- More actions offers Enhanced transcript for a note with audio. It asks before replacing the existing transcript. This is a transcription pass, not a summary generator.
- Give specialist words a better chance
- Put names, companies, and jargon in ~/memory/vocabulary.md. The enhanced transcription path can use that vocabulary; it does not guarantee perfect spelling or accuracy.
05 / MAKE IT YOURS
The useful controls, in one place.
- Readiness and permissions
- Settings shows permission or model issues and provides the relevant recovery actions. Release installers include the models; a missing model can be downloaded again.
- Login and menu bar
- Choose whether Memory Notch opens at login and whether its menu-bar icon is shown. You can restart the welcome tour from Settings.
- Updates and licensing
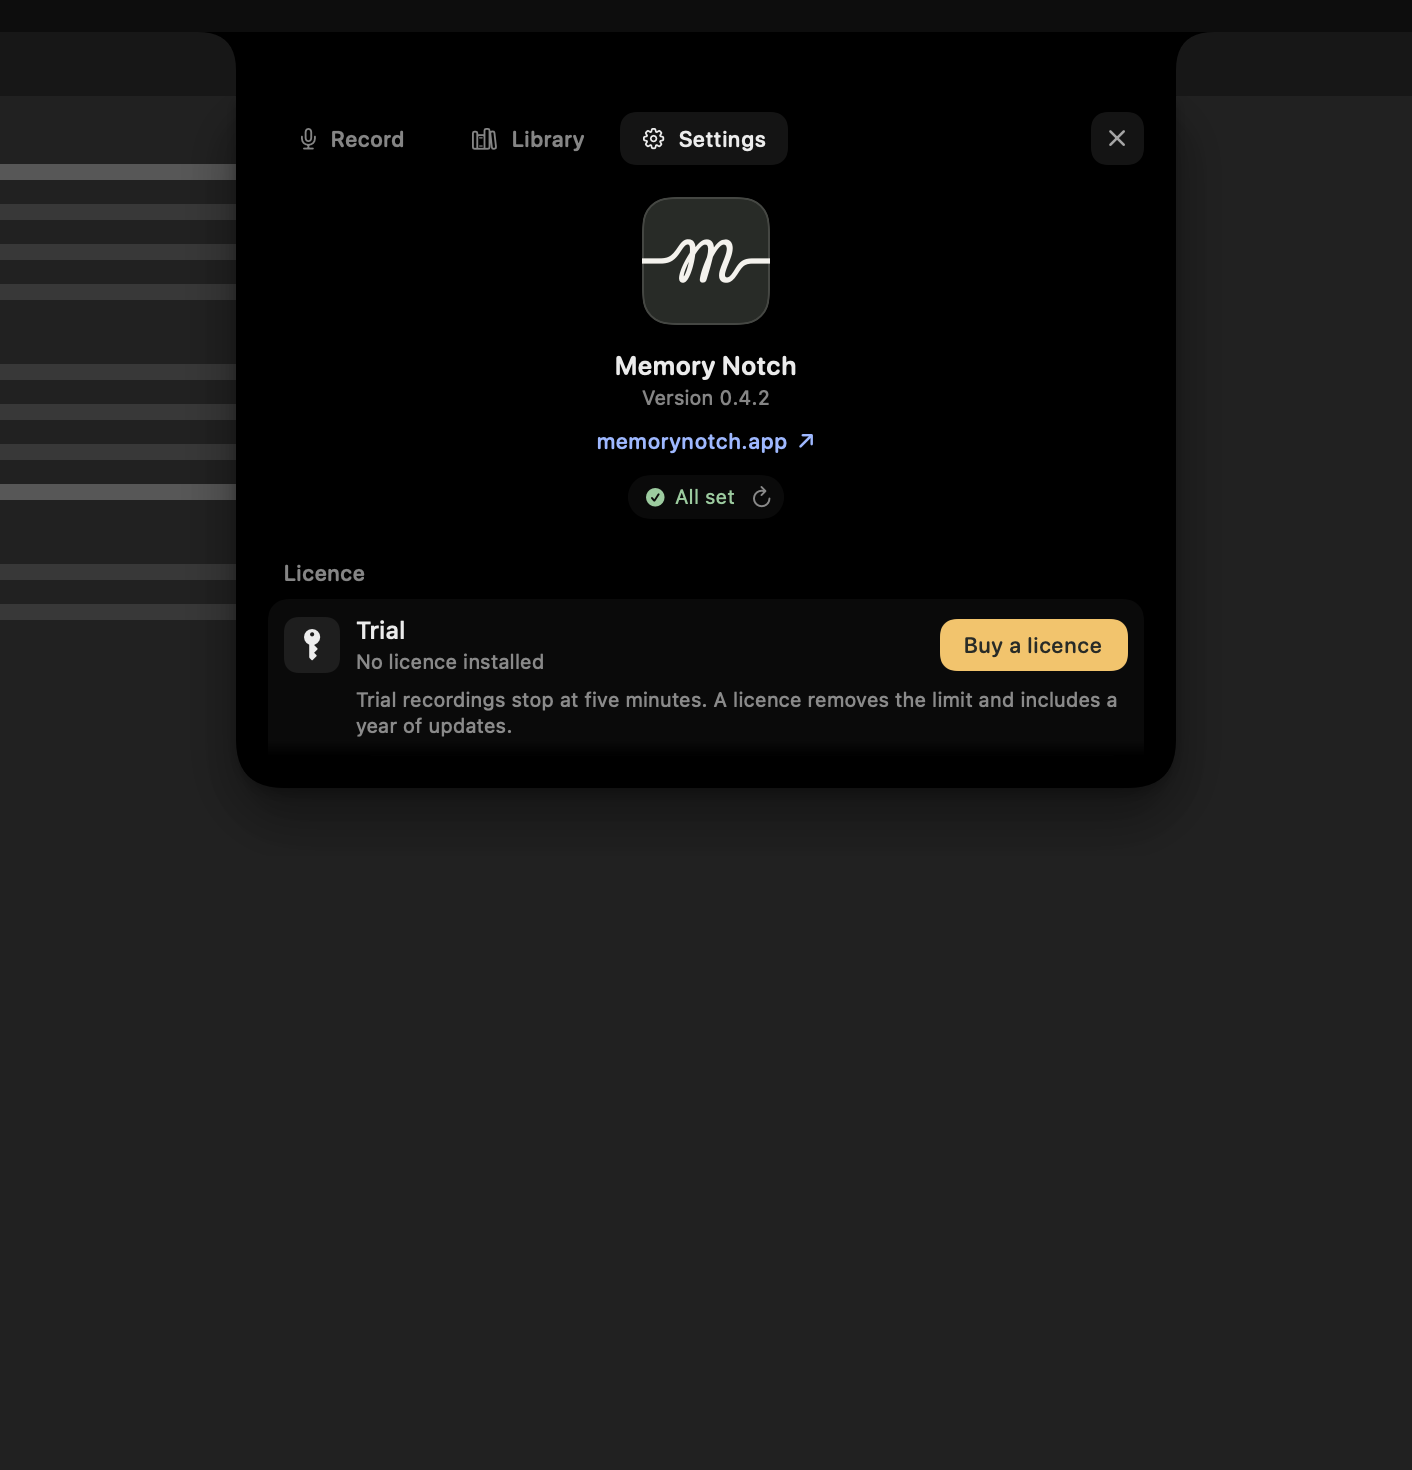
- Check for updates, review available releases, and install them from the app. Automatic checks can be turned off. Licence settings let you activate or remove a key and review your update entitlement.
- An optional command-line tool
- When the build includes it, install the memory command from Settings. Use it to inspect the store and import or manage notes from Terminal.
06 / YOUR FILES, YOUR WORKFLOW
Ordinary files.
Extraordinary freedom.
No proprietary library to unlock before you can use your own recordings.
One folder per recording
~/memory/notes/recording-id/
  recording-id.md   # metadata
  recording-id.txt  # transcript
  recording-id.m4a  # audio
  recording-id.mov  # optional screen video
The Markdown note has YAML metadata and paths to its transcript and media. Your files remain usable outside Memory Notch and after uninstalling the app.
Use your local transcripts with ChatGPT, Claude, Codex, or Cursor ↗
Bring existing audio along
Import Apple Voice Memos from the Library tab. If macOS denies access, grant Full Disk Access and reopen the app. Audio placed in ~/memory/inbox can be filed and transcribed using File now or the command line.
Work from Terminal
memory status
memory ingest recordings
memory ingest voice-memos
memory migrate
memory delete <id>
The delete command removes a note and its owned files. Use it only for recordings you intend to delete.
IMPORTANT DETAILS
Local doesn’t mean limitless.
- Recording stays on your Mac
- Recording, transcription, and speaker processing run on-device. Update checks, licence-revocation checks, update downloads, and missing-model recovery use the network without carrying your recordings.
- A trial, then a paid licence
- The trial caps each recording at five minutes and saves what was captured. A US$49 one-time licence removes the recording limit on covered versions, includes one year of updates, and covers five personal Macs. It is not a free app.
- Your tools, your choices
- Other editors or AI tools can read the files you give them access to. No Memory Notch API or MCP server is needed. Cloud services and backup/sync software have their own data policies.
- Check important details
- Transcripts and speaker labels can be wrong, especially with overlapping voices or shared microphones. There is no automatic summary, team workspace, CRM sync, clinical-note generation, BAA, or EHR integration.